

Renovation Guides
Pontoon Boat Railing & Fencing: Complete Replacement Guide
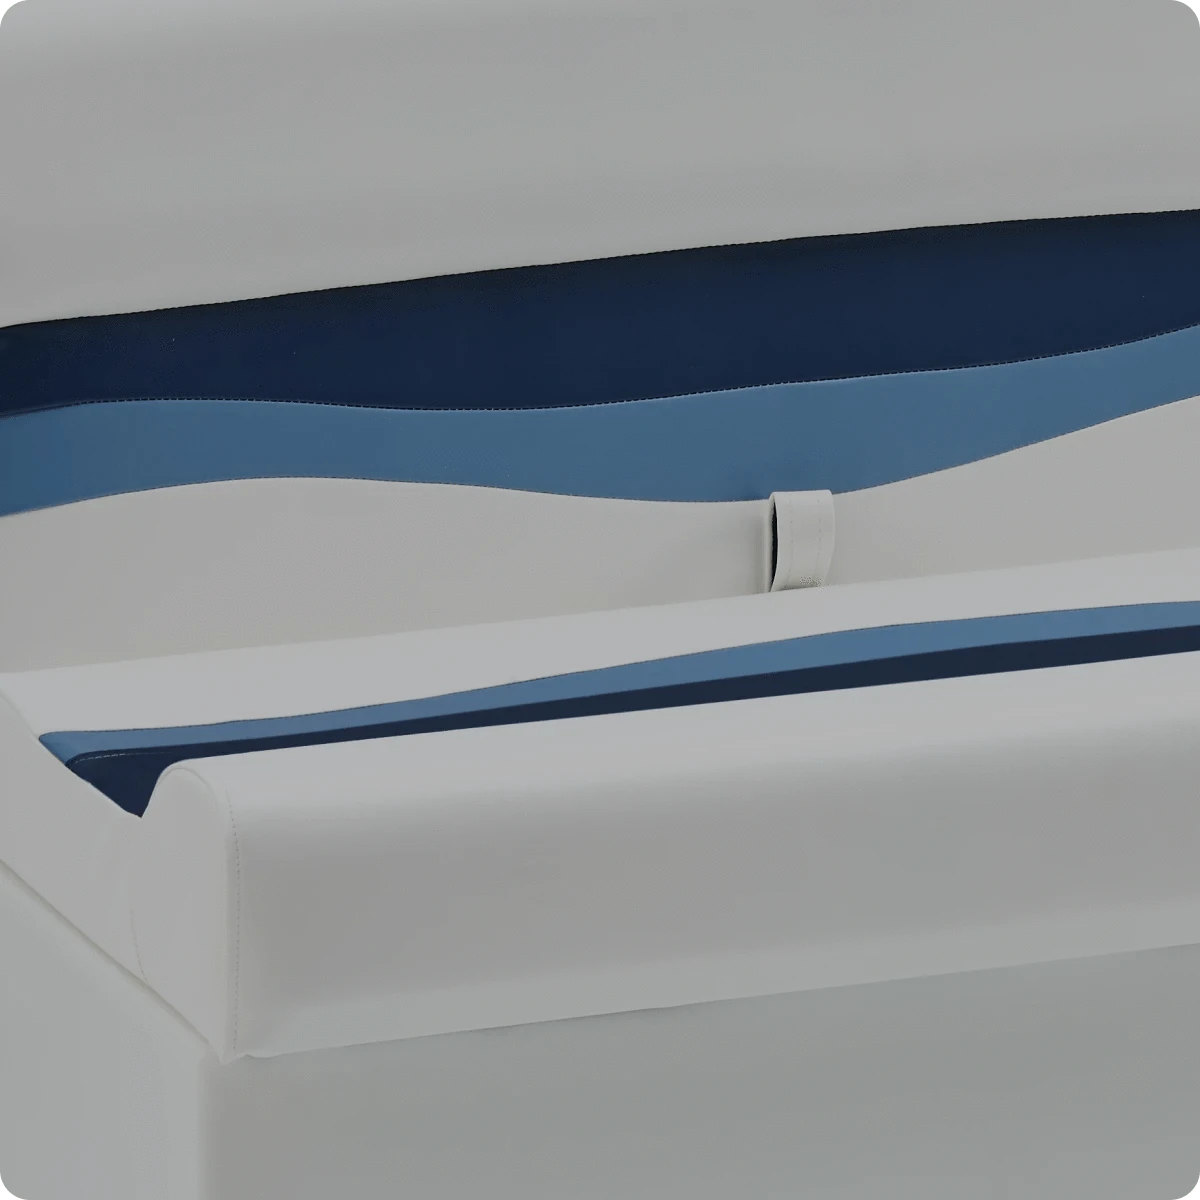
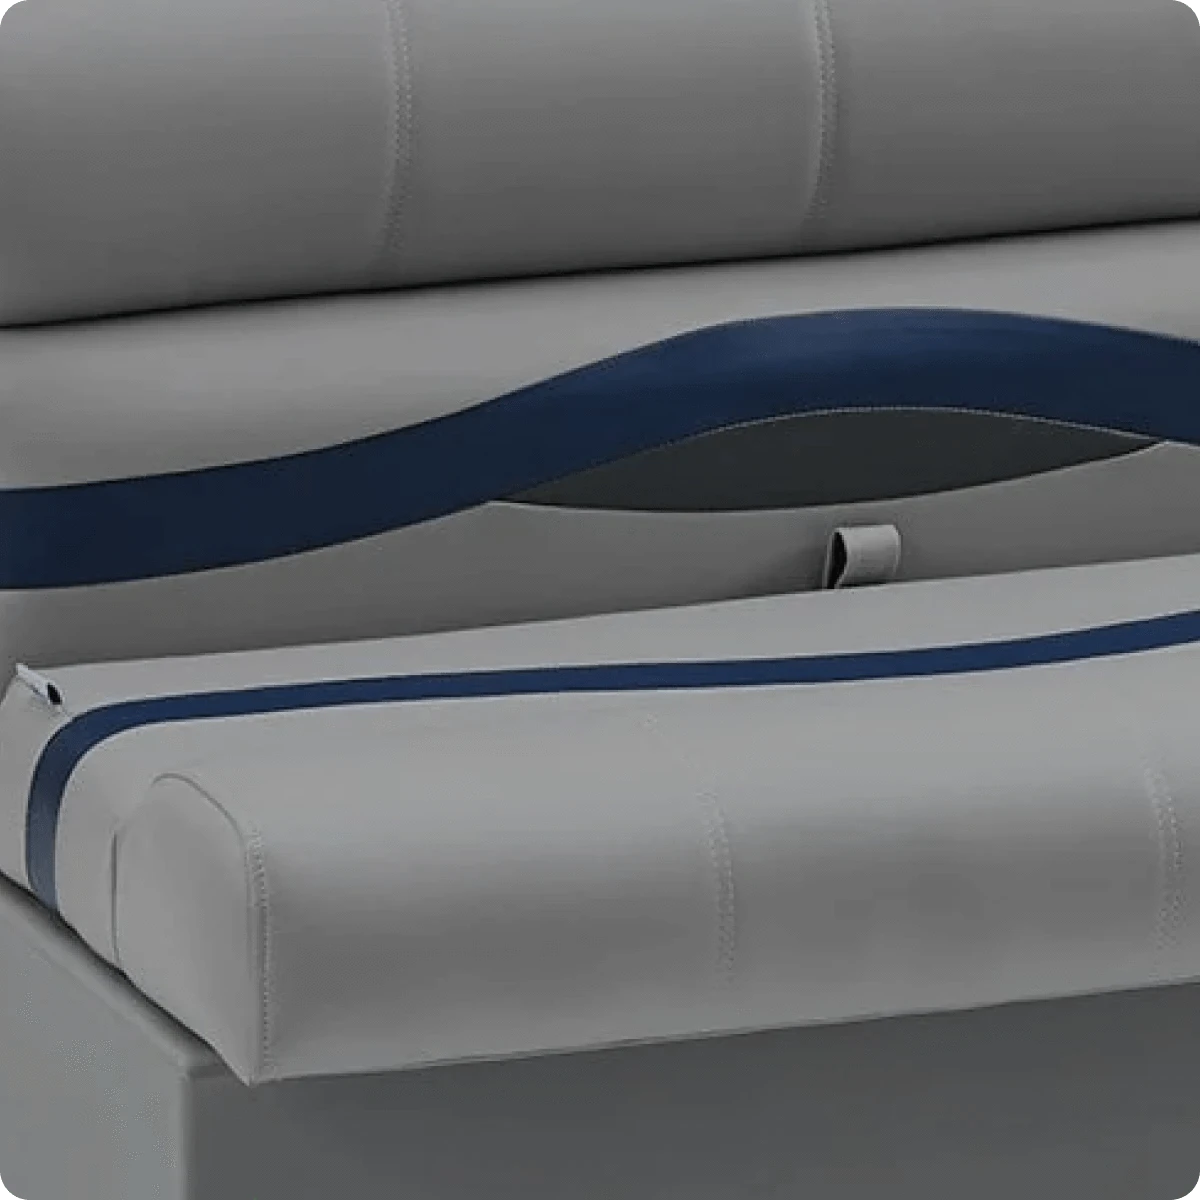
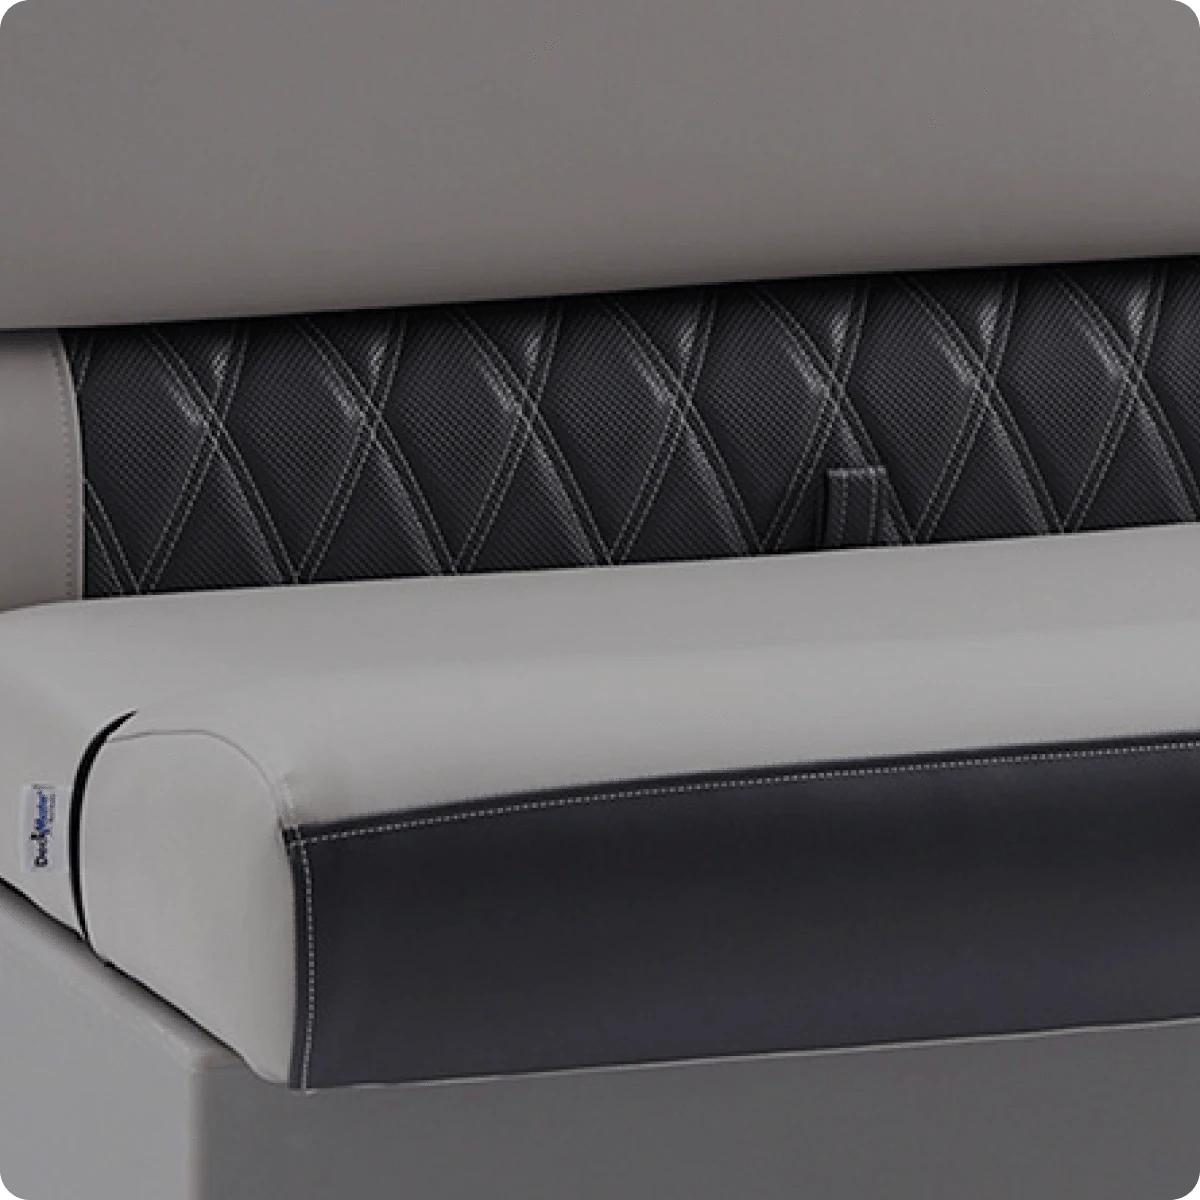
Pontoon boat railing and fencing do a lot more than frame the deck. They define your layout, support your gates, hold your pontoon fence paneling, and give your boat that clean, finished look every time you walk down the dock.
When the railing is bent, the panels are faded, the gates won’t latch, or the hardware rattles more than your tackle box, it may be time for a replacement. Replacing your pontoon fence is actually a very doable DIY project if you measure carefully, choose the right parts, and work through the install in the right order.
How Do You Replace Pontoon Boat Railing and Fencing?
You replace pontoon boat railing and fencing by:
- removing the old fence sections or paneling
- measuring the deck and gate layout
- dry-fitting the new railing or panels
- securing everything to the deck
- finishing the project with gates, braces, trim, and hardware.
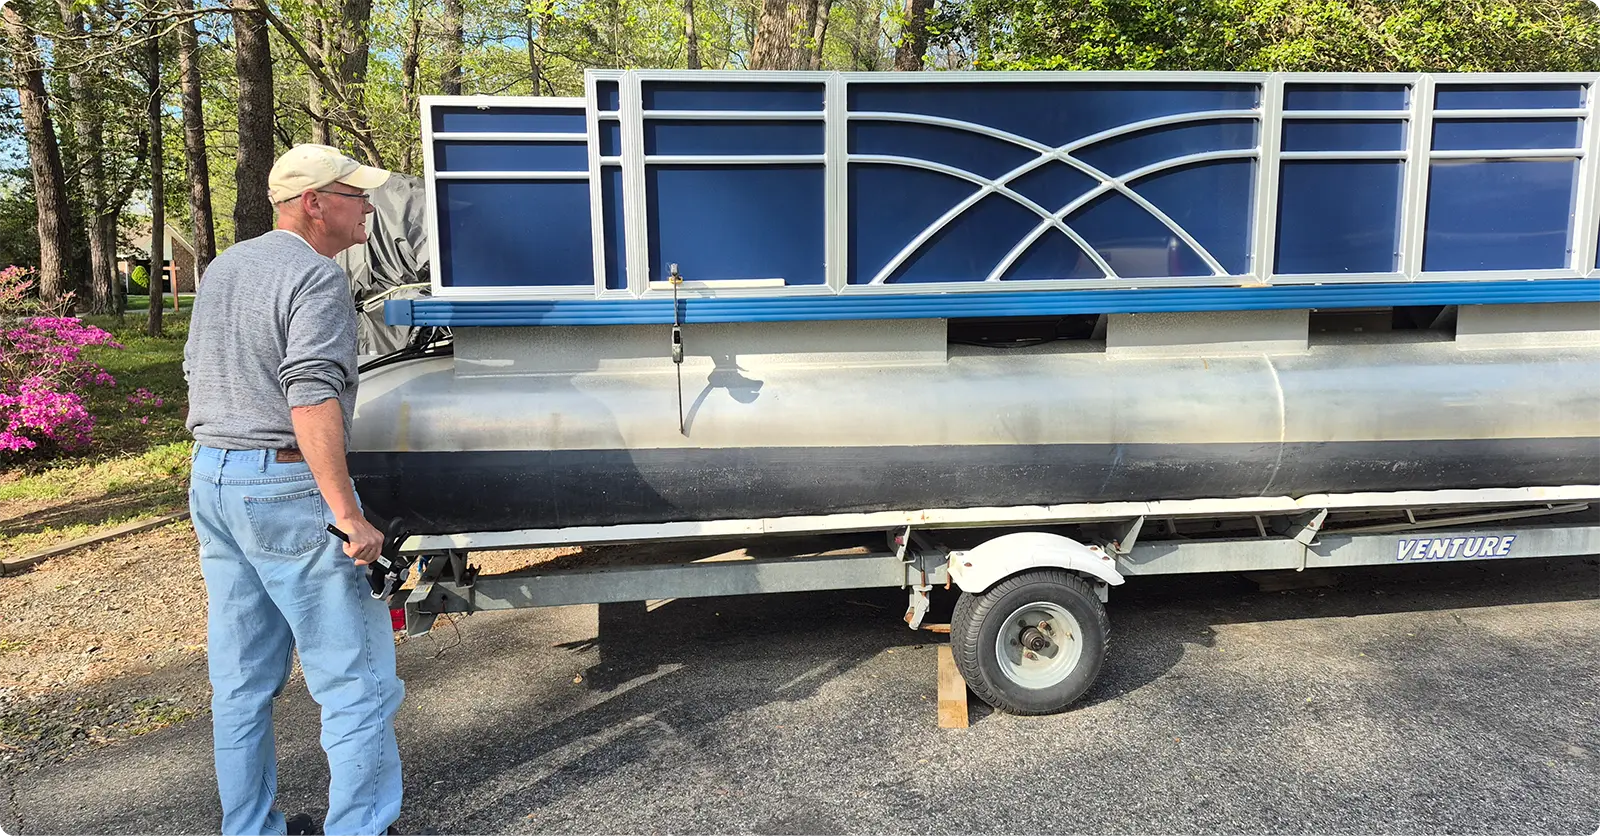
The first choice is deciding how much of the pontoon fence actually needs to be replaced. Some boats only need new pontoon fence paneling, while others need a complete pontoon rebuild.
If your existing railing is structurally sound, replacing just the fence paneling can give the boat a cleaner look without changing the layout.
Replace just the pontoon fencing by:
- Removing the old fence paneling from the existing rails.
- Checking the railing frame for bends, cracks, corrosion, or loose welds.
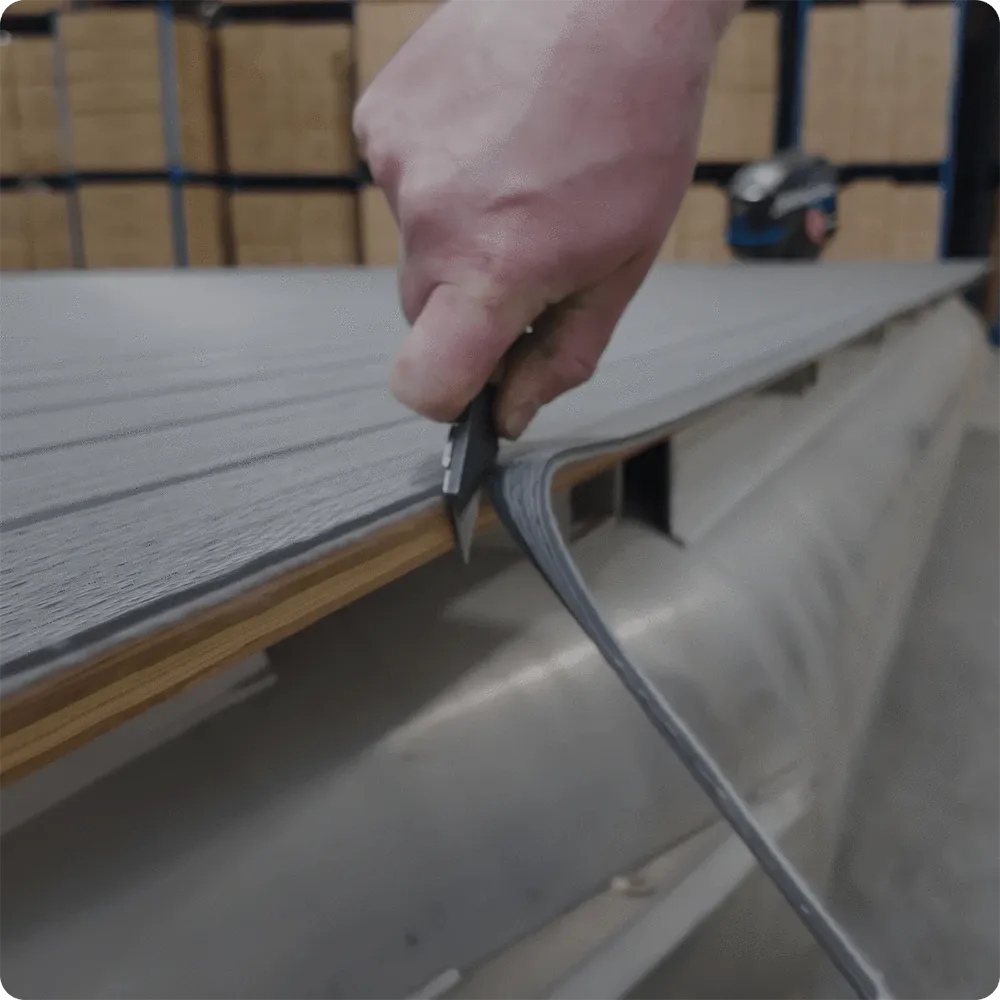
- Measuring each fence section carefully before cutting new paneling.
- Sliding or fastening the new paneling into the existing railing channels.
- Reattaching trim, brackets, and hardware so everything sits securely.
If the railing has taken a beating, the gates are out of alignment, or you’re replacing flooring and furniture too, a full pontoon fence package is usually the better long-term option.
| Replacement Option | Best For | What You Replace | Project Scope | Main Advantage |
|---|---|---|---|---|
| Paneling-Only Replacement | Boats with straight, sturdy railing frames | Fence paneling only | Smaller refresh project | Updates the look without changing your layout |
| Full Railing Replacement | Boats with damaged or misaligned railing, or a larger rebuild | Railing, fencing, gates, braces, trim, and hardware | Larger rebuild project | Gives you a stronger, cleaner setup from the deck up |
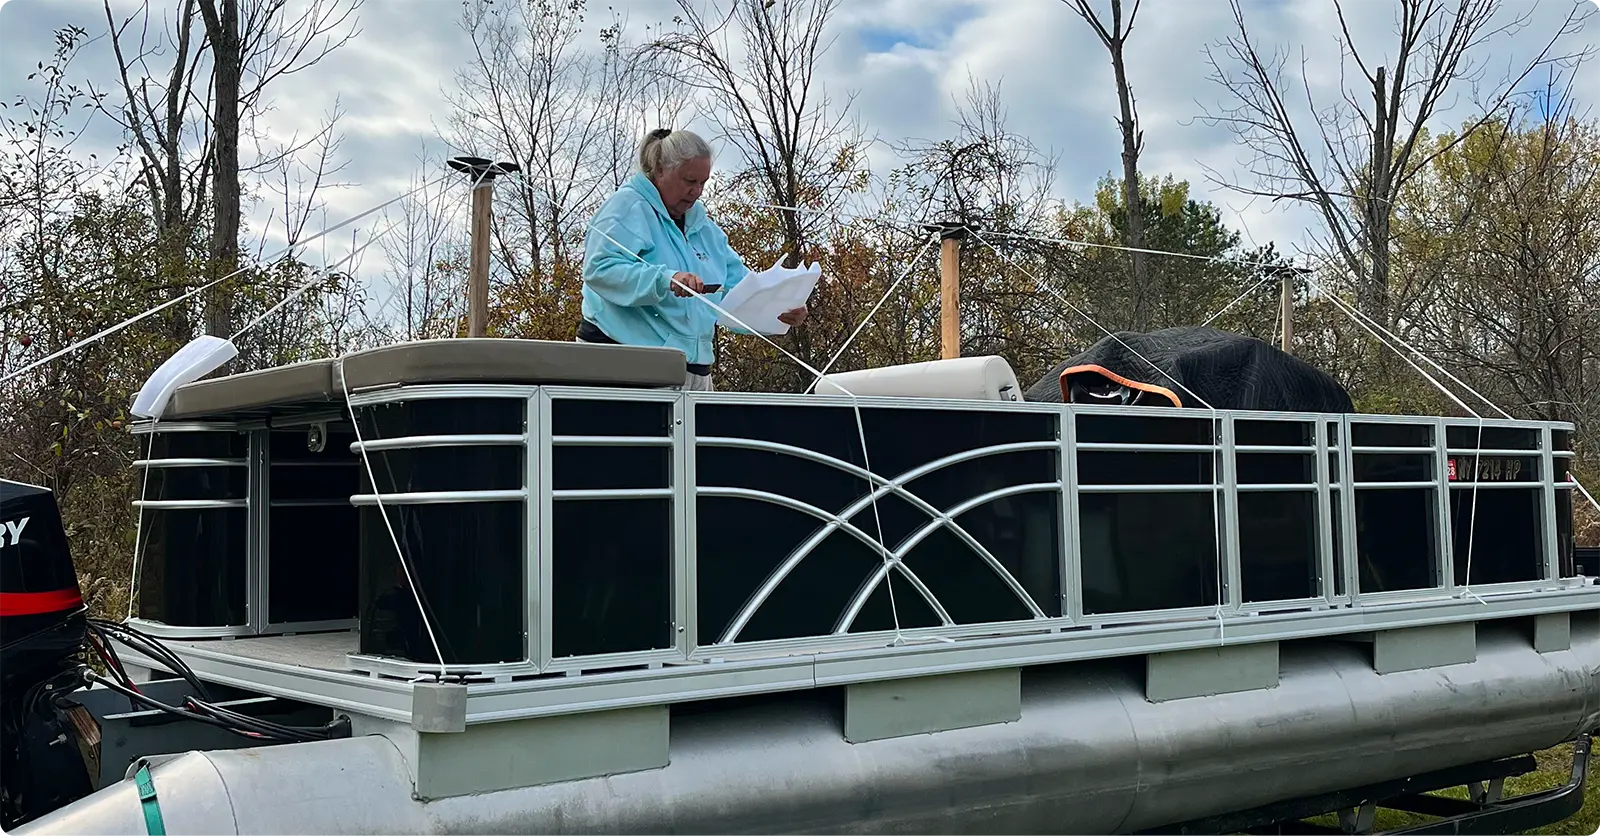
How Do You Measure for Pontoon Fencing?
Measure your pontoon fence layout before you take any next steps. Start with the full deck size. Measure the length and width from the outside edges of the deck, not just the old railing. Many pontoons are 8 feet or 8.5 feet wide, but it’s better to trust the tape measure than the old model brochure.
Record these measurements and details:
- Overall deck length
- Overall deck width
- Bow corner style, such as square or radius corners
- Existing gate locations (if keeping the same layout)
- Gate opening widths
- Side entry and front entry locations
- Rear entry, sundeck, ladder, and fuel tank space
- Motor clearance when tilted forward
- Console location
- Furniture layout
- Crossmember locations under the deck
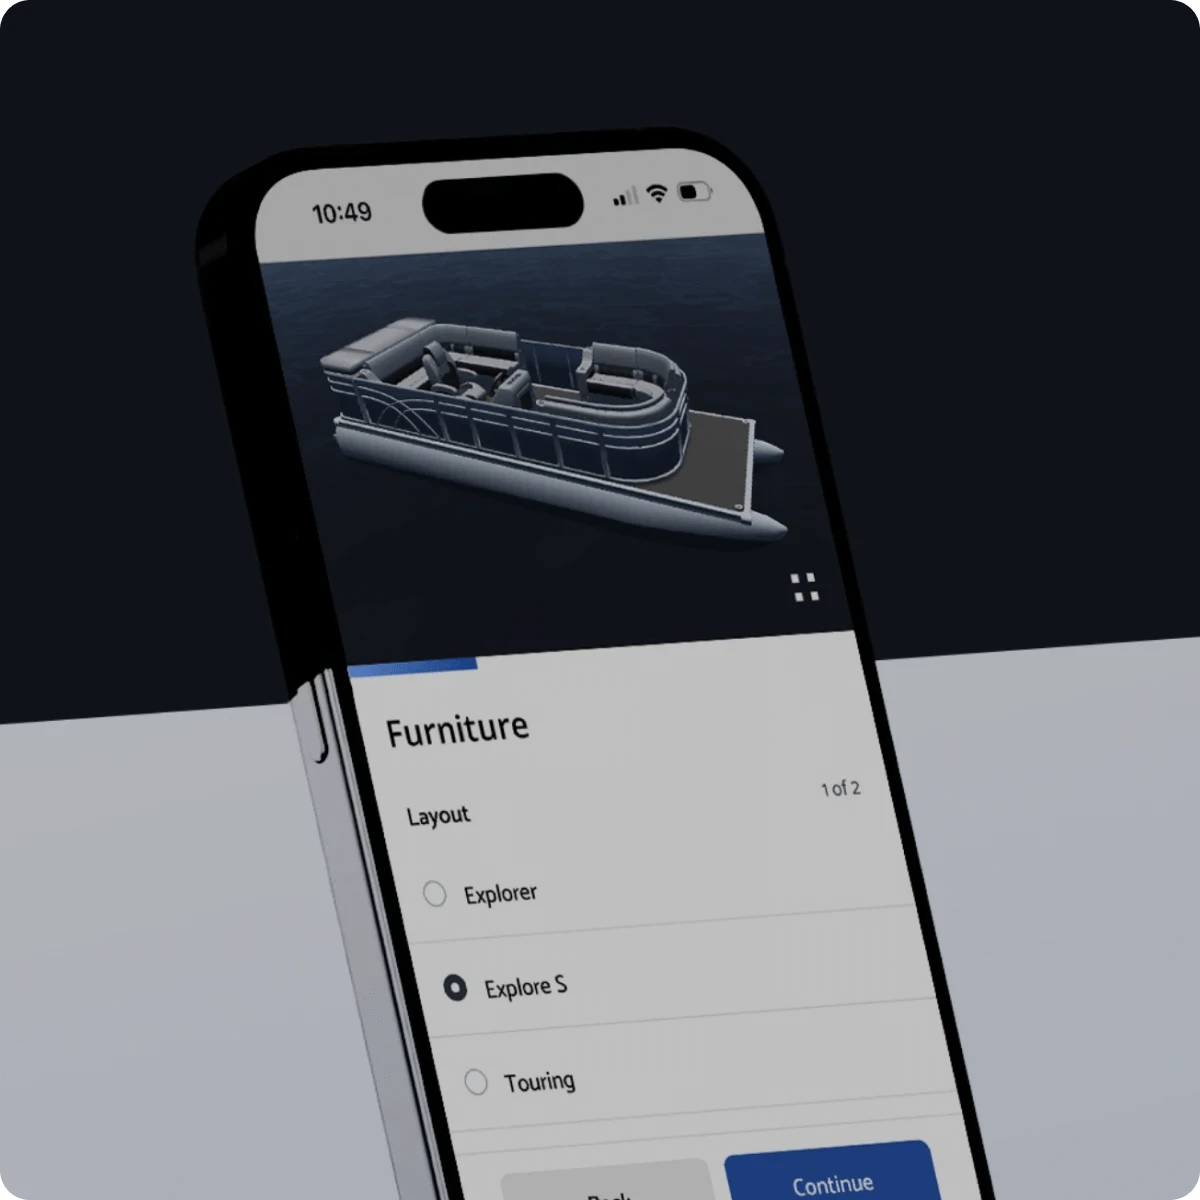
If you’re keeping the same setup, measure each existing rail section before removal. If you’re changing the layout, use our Pontoon Design Tools to plan your new layout and even see it in action.
Tools & Materials Needed for Pontoon Fencing Replacement
A full pontoon fencing kit comes with the main pieces you need to rebuild the railing system, but you’ll still want the right tools ready before the first rail section goes on the deck.
Unpack the kit first, then group the rail sections, gates, braces, risers, bolts, washers, hinges, latches, and trim so you’re not hunting for hardware halfway through the install.
You’ll typically need:
- Full pontoon railing kit
- Tape measure
- Marker or pencil
- Square
- Drill with appropriate bits
- Wrench or socket set
- Screwdriver bits
- Clamps or painter’s tape
- Safety gloves
- Eye protection
Before installation, watch our step-by-step video on How to Install New PontoonStuff Pontoon Railings from Tom’s Toons to get a feel for the project.
Step-by-Step Pontoon Boat Railing Kit Replacement Instructions
These pontoon boat railing & fencing replacement instructions cover the basic process for installing a full pontoon railing kit. Always follow the instructions included with your specific kit, especially for gate placement, hardware, risers, and brace locations.
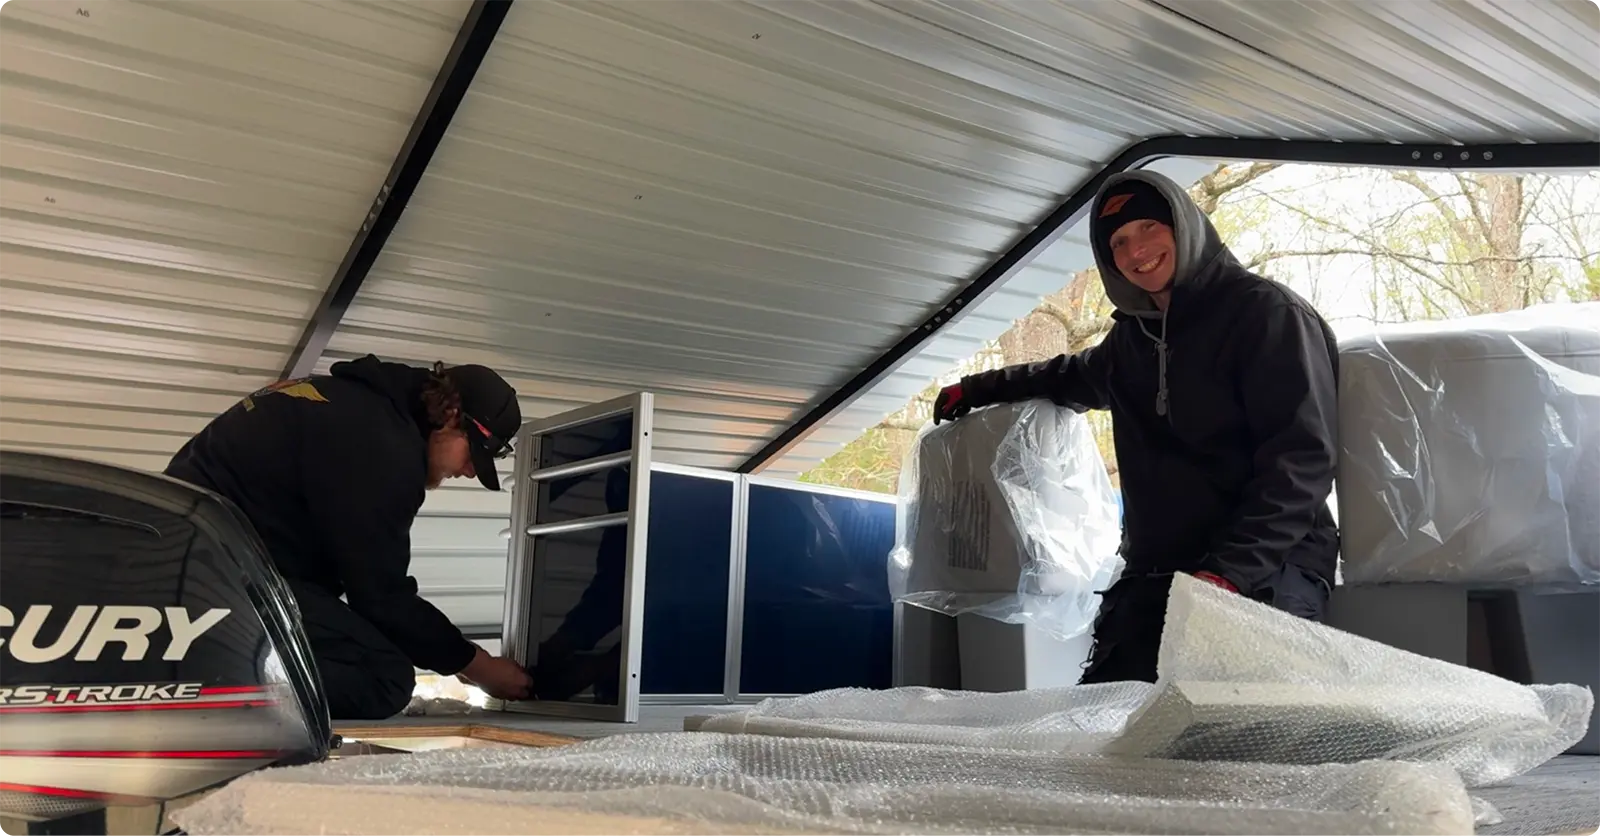
Step 1: Clear the Deck and Remove the Old Railing
Clear the deck around the existing pontoon fence. Remove seats, trim pieces, accessories, loose gear, or anything else that blocks access to the rail bases.
Unbolt the old railing one section at a time. Take photos before removing gates, braces, corners, and hardware so you have a reference if you’re keeping a similar layout. If the old railing is bent or out of square, use the deck, furniture plan, gate placement, and kit instructions as your guide instead.
Step 2: Inspect the Deck Before Installing New Railing
Once the old pontoon boat railing is off, inspect the deck surface and mounting areas. Look for soft spots, damaged plywood, loose fastener holes, water damage, or uneven edges that could affect the new railing installation.
If you’re replacing flooring too, finish that first. Your railing should mount over the finished deck surface, not over old material that may be removed later.
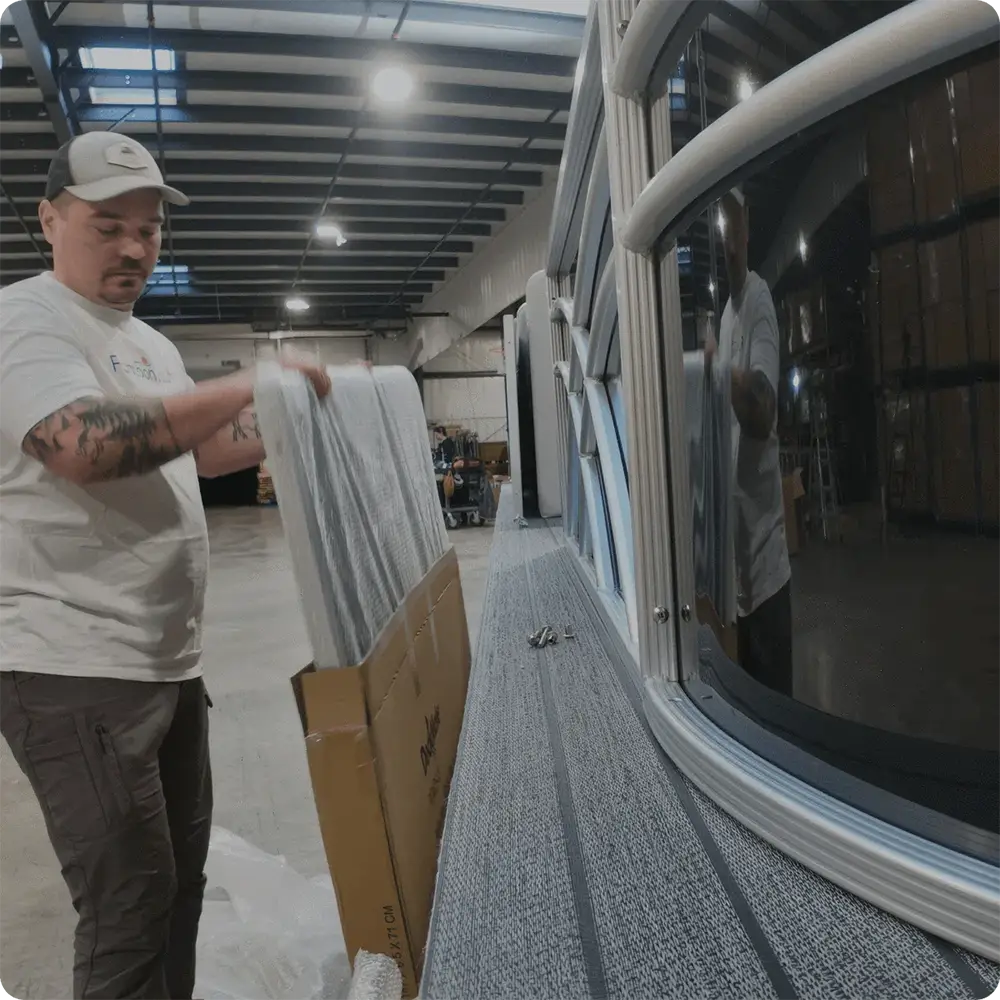
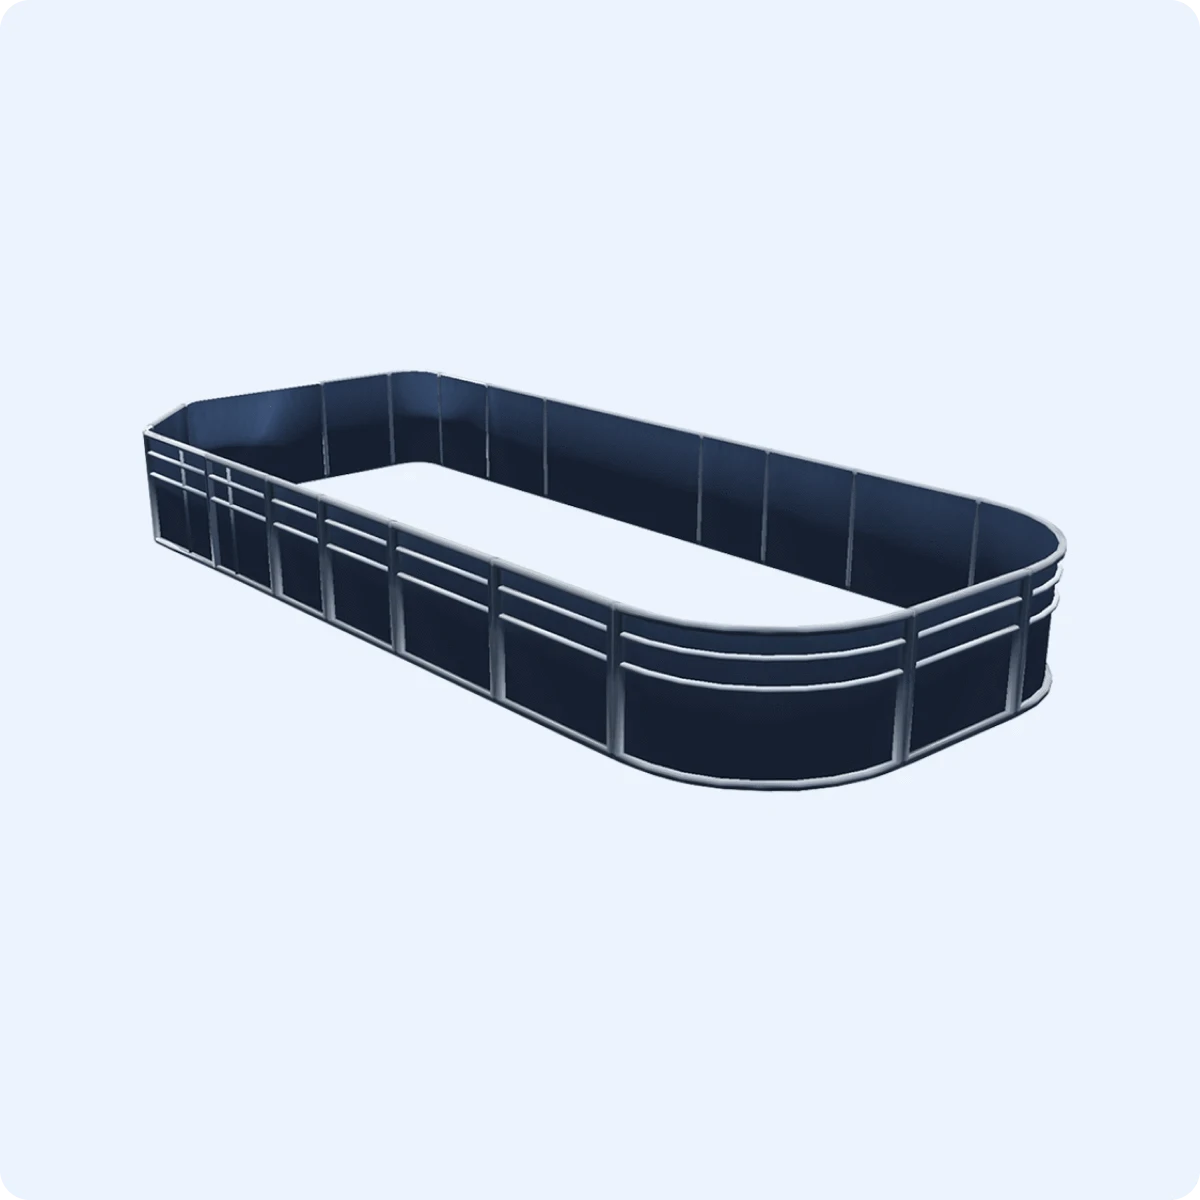
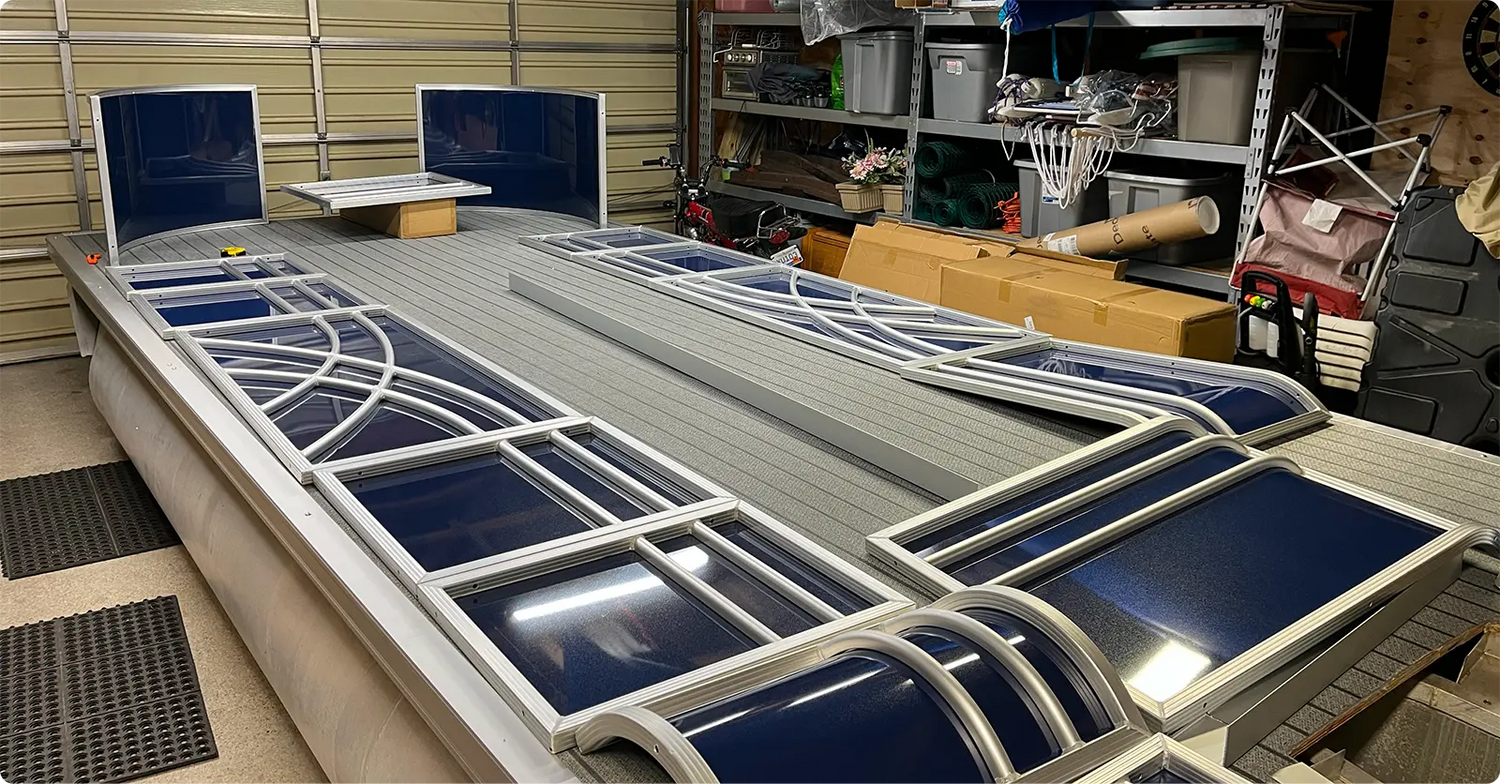
Step 3: Lay Out the New Pontoon Railing Sections
Place the new aluminum railing sections on the deck before drilling any holes. Start with the bow sections, then position the side rails, stern rails, and gates.
Check that:
- Gates are placed in the correct openings.
- Bow corners match your deck style.
- Stern rails leave room for the motor, ladder, fuel tank, and rear entry.
- Side rails sit straight along the deck edge.
- Furniture will fit without rubbing.
- The console has enough clearance.
- Braces won’t interfere with seat bases or storage compartments.
This dry-fit step is one of the most useful parts of the install. Once holes are drilled, changes get a lot less fun.
Step 4: Add Fence Risers Under the Rail Bases
Place fence risers under the rail bases according to your kit instructions. Risers lift the pontoon fence slightly off the deck, which helps water drain instead of sitting under the railing base.
Line up each riser with the mounting points on the railing. Keep the rail sections square as you work around the deck, and check spacing often so small shifts don’t turn into bigger alignment issues.
Step 5: Mark the Mounting Holes
Once the railing is dry-fit and aligned, mark the mounting holes through the rail bases and risers.
Before drilling, check underneath the deck where possible. Watch for components that could interfere with the bolts. If a hole lands in a bad spot, pause and adjust the layout according to your kit instructions.
Step 6: Drill the Mounting Holes
Drill straight through the marked mounting holes using the bit size recommended for your hardware. Keep steady pressure and avoid widening the holes.
A helper can keep the railing steady while you drill. If you’re working alone, clamp sections in place so the rail doesn’t shift.
Step 7: Bolt the Railing to the Deck
Install the bolts, washers, and hardware included with your pontoon railing kit. Work section by section, starting each fastener loosely before tightening everything down.
Don’t fully tighten one rail section before the neighboring sections are aligned. Leaving hardware slightly loose at first gives you room to make small adjustments so the railing stays square, the gates line up, and the perimeter looks clean.
Once the full layout is in place, tighten the hardware evenly. The railing should feel secure without twisting the rail bases or crushing the deck material.
Step 8: Install Gates, Hinges, and Latches
Install the gates using the hinges and latch hardware. Check the swing direction before fastening everything in place.
Open and close each gate several times before final tightening. Each gate should swing freely, clear the deck, and latch without needing to be lifted, shoved, or pulled into position. If the gap looks uneven, adjust the gate before tightening the hinge hardware.
Step 9: Add Rail Braces and Support Hardware
Install fence braces, gate stops, pinch guards, and other support hardware included with your pontoon fence package. Braces are especially helpful near gates and longer rail runs.
Before attaching braces, confirm your furniture layout. A brace placed directly behind a seat base can make installation harder later, especially if you’re adding new pontoon seats as part of the rebuild.
Step 10: Check the Layout Before Final Tightening
Walk the full perimeter of the boat and check the railing from multiple angles.
Confirm that:
- Gates swing and latch cleanly.
- Rail sections are straight.
- Corners line up correctly.
- Fence risers are in place.
- Braces are secure.
- Hardware is snug.
- Nothing interferes with the motor, ladder, fuel tank, console, or seating.
This is your final chance to make small adjustments before everything is tightened down.
Step 11: Tighten Hardware and Inspect the Finished Installation
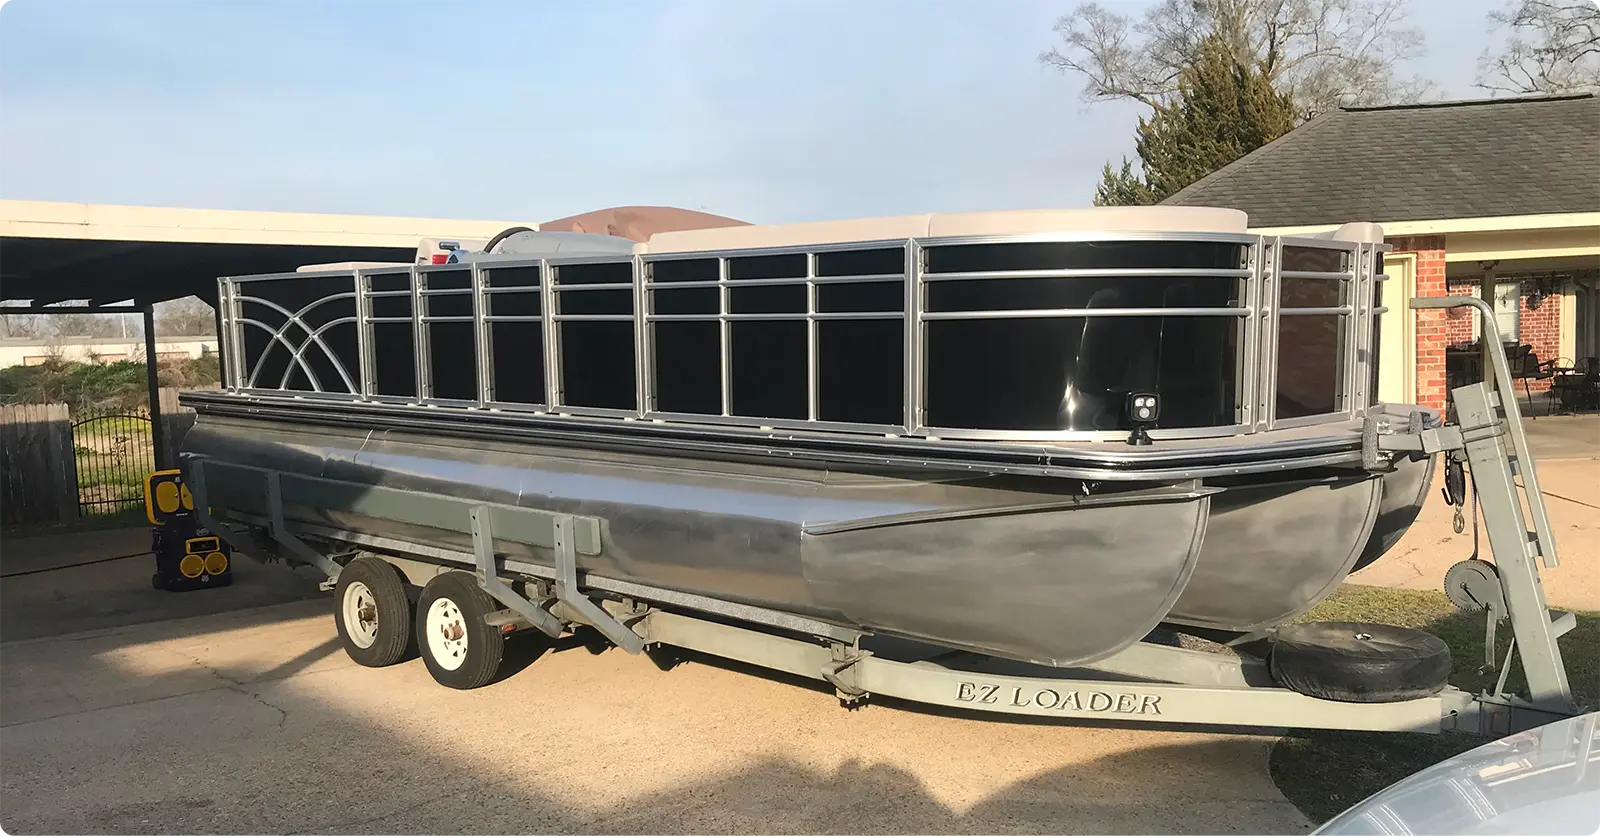
Once the layout is correct, tighten all bolts, hinges, braces, and latch hardware. Work around the boat in order so you don’t miss a section.
Give the pontoon fence a gentle shake in several spots. It should feel solid and secure. If something rattles, shifts, or flexes more than expected, tighten or adjust it before moving on.
Step 12: Reinstall Furniture and Accessories
After the pontoon railing kit is fully installed, reinstall furniture, trim, accessories, and any deck hardware you removed earlier. Check that seat bases, storage compartments, and walkways still have the clearance you planned during the dry-fit.
If you’re doing a larger rebuild, this is when the boat really starts to come back together. New railing, clean gates, and a solid layout make the next steps feel a whole lot easier.
If you want to create a truly custom look to your refresh or rebuild, our five new pontoon vinyl decals can each be installed three different ways, creating a design that feels uniquely yours.
Always Inspect Your Work
Walk the full perimeter before calling the job done.
Check for:
- Loose bolts
- Sharp panel edges
- Uneven paneling
- Gate rub
- Latch alignment
- Rail movement
- Missing risers
- Braces that need tightening
- Hardware that could snag covers, towels, or passengers
Give the railing a gentle shake in several spots. It should feel solid and secure. If something rattles or flexes more than expected, fix it while the tools are still out.
How Much Does It Cost to Replace Pontoon Railing?
The cost to replace pontoon railing depends on if you buy paneling only, replacement parts and accessories, or a full pontoon railing kit. Paneling-only replacement is usually the lower-cost option. Full pontoon fence rail packages cost more because they include everything you need in addition to the paneling.
PontoonStuff pontoon fence rail package prices currently start at $1,499.99 and range up to $2,649.99, depending on deck size and configuration. Our railing kits include hardware, gate hinges, door stops, rail braces, and fence risers, with available metallic blue, metallic black, and metallic beige finish options.
You can also use our pontoon decal kits to customize your new pontoon fencing.
Get Your Pontoon Fence Project Started
Replacing pontoon boat railing and fencing can make an older pontoon feel cleaner, sturdier, and easier to enjoy. The best results come from careful measuring, a full dry-fit, smart gate placement, and fresh hardware where it counts.
When you’re ready to rebuild, PontoonStuff has the pontoon replacement parts and DIY restoration resources to help you plan the project with confidence so you’ll be a lot closer to a pontoon that’s ready for more days on the water.
Pontoon Boat Railing & Fencing Replacement FAQs
What Is Pontoon Boat Fencing Made Of?
Pontoon boat fencing is usually made from aluminum rails and aluminum fence paneling. Most pontoon boat aluminum railing systems also use marine-ready hardware, gate hinges, latches, braces, and fence risers. Aluminum is popular because it is lightweight, durable, and well-suited for pontoon use.
Can You Replace Pontoon Fence Paneling Without Replacing the Rails?
Yes, you can replace pontoon fence paneling without replacing the rails if the railing frame is straight, sturdy, and secure. You’ll remove old fasteners, open the rail channel, remove the damaged paneling, cut new paneling to size, slide it into place, and secure it with new fasteners.
Should Pontoon Fencing Be Installed Before or After New Seats?
Install pontoon fencing before replacement seats during a full rebuild. This gives you better access to the rail bases, helps you place furniture correctly, and lets you check brace locations before seat bases are in the way.